If you haven’t done Task 1 through Task 4 yet, here is the link to my write-up of it: TryHackMe NetworkMiner — Task 1 through Task 4
Getting VM Started
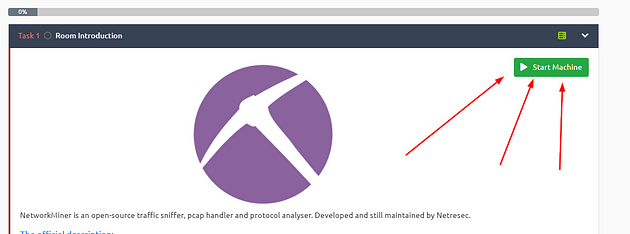
Go back to Task 1, at the top of the task is a green button labled Start Machine. Click the green button to start the VM.
If the screen doesn’t split in half with the VM on the right and Tasks on the left. Then scroll to the top of the page, you will see a Blue button labeled Show Split View, click this button to split the screen.

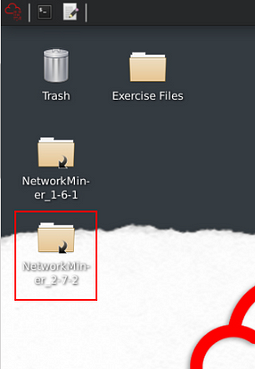
Time to open NetworkMiner, double-click on the NetworkMiner_2–7–2 folder.
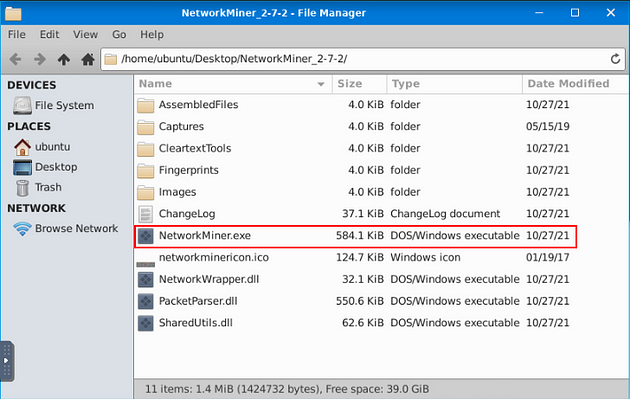
When the directory opens, double-click on NetworkMiner.exe, then give it time to open.
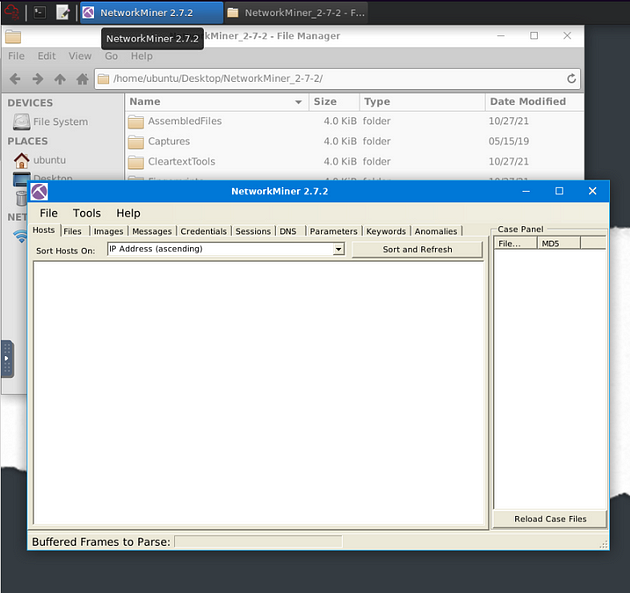
NetworkMiner will open, you are now ready to go along with this Task. See you at the Question.
Task 5 Tool Overview 2
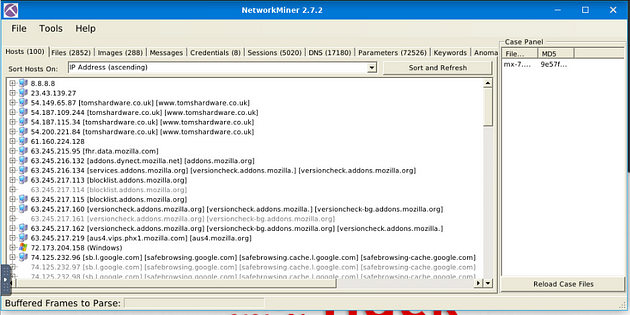
Files
The file menu shows extracted files from investigated pcaps. This section provides information on;
- Frame number
- Filename
- Extension
- Size
- Source and destination address
- Source and destination port
- Protocol
- Timestamp
- Reconstructed path
- Details
Some features (OSINT hash lookup and sample submission) are available only in premium mode. The search bar is available here as well. The right-click menu is helpful in this part as well. You can easily open files and folders and view the file details in-depth.
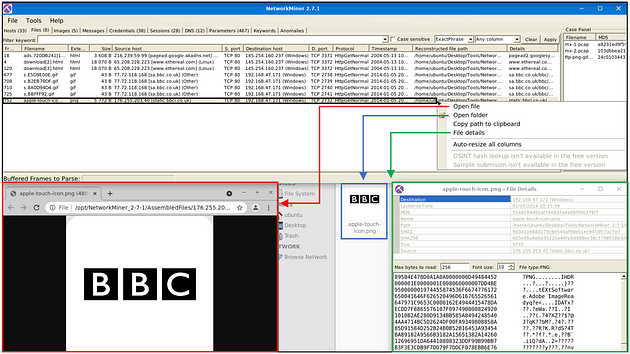
Images
The file menu shows extracted images from investigated pcaps. The right-click menu is helpful in this part as well. You can open files and zoom in & out easily.
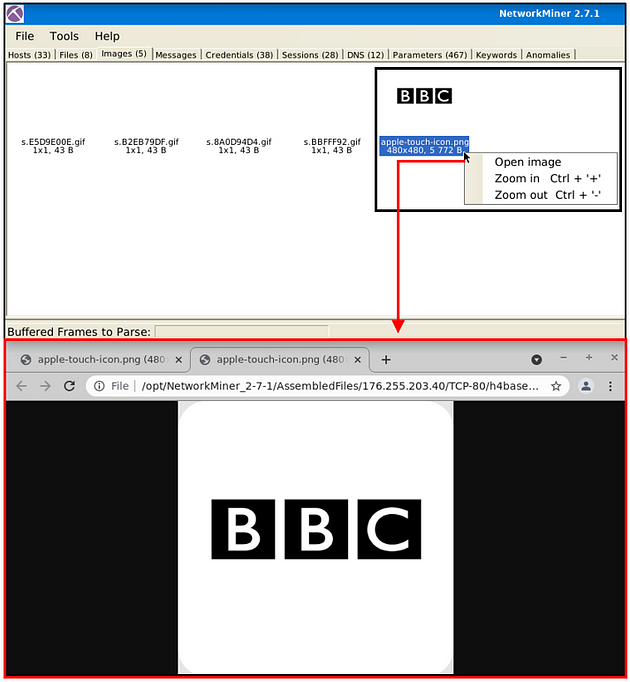
Once you hover over the image, it shows the file’s detailed information (source & destination address and file path).

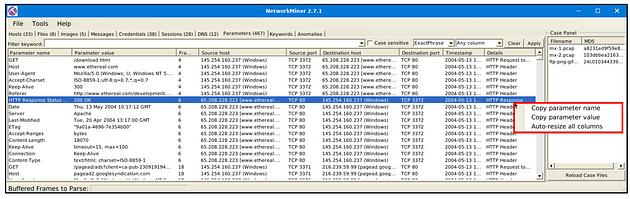
Parameters
The file menu shows extracted parameters from investigated pcaps. This section provides information on;
- Parameter name
- Parameter value
- Frame number
- Source and destination host
- Source and destination port
- Timestamp
- Details
The right-click menu is helpful in this part as well. You can copy the parameters and values easily.
Keywords
The file menu shows extracted keywords from investigated pcaps. This section provides information on;
- Frame number
- Timestamp
- Keyword
- Context
- Source and destination host
- source and destination port
How to filter keywords;
- Add keywords
- Reload case files!
Note: You can filter multiple keywords in this section; however, you must reload the case files after updating the search keywords. Keyword search investigates all possible data in the processed pcaps.

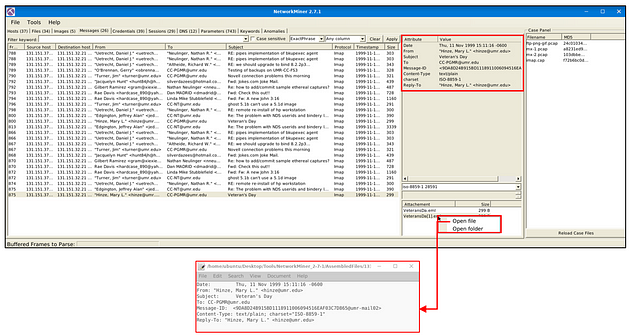
Messages
The messages menu shows extracted emails, chats and messages from investigated pcaps. This section provides information on;
- Frame number
- Source and destination host
- Protocol
- Sender (From)
- Receiver (To)
- Timestamp
- Size
Once you filter the traffic and get a hit, you will discover additional details like attachments and attributes on the selected message. Note that the search bar is available here as well. The right-click menu is available here. You can use the built-in viewer to investigate overall information and the “open file” option to explore attachments.
Anomalies
The anomalies menu shows detected anomalies in the processed pcap. Note that NetworkMiner isn’t designated as an IDS. However, developers added some detections for EternalBlue exploit and spoofing attempts.

Answer the questions below
Use mx-7 pcap
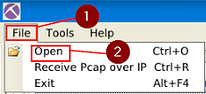
In NetworkMiner, at the top left of the window is the File Tab. Click it, a dropt-down menu will appear, click the Open tab.
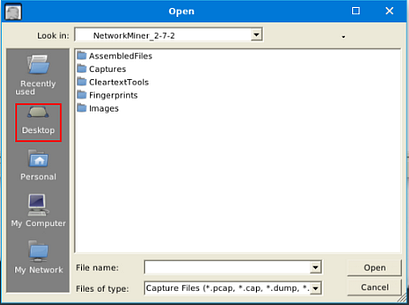
A window will pop-up, and you will be in your current directory. On the left side of this window is a quick find bar, click on the Desktop icon.
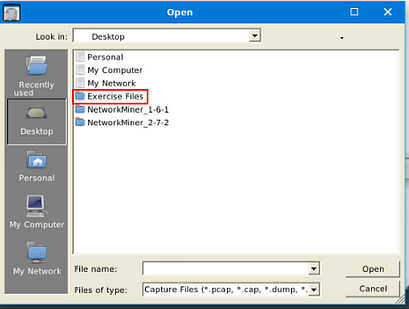
Double-click on the Exercise Files.
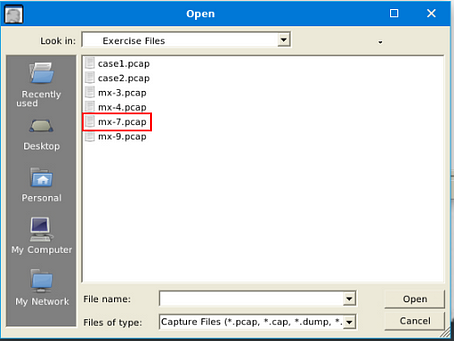
Double-click on the emx-7.pcap file, this will open it in NetworkMiner.
You are now ready to start finding answers to the questions.
What is the name of the Linux distro mentioned in the file associated with frame 63075?
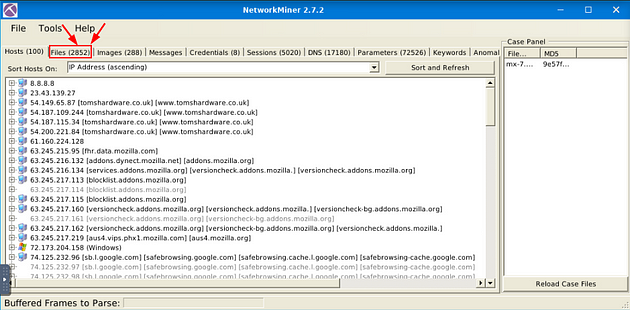
On NetworkMiner, look at the category tabs. When you find the Files tab, click on it.
Once on the Files tab, there is a Filter Keywords field. Type in the field, 63075 then move to the right and click the Apply button.
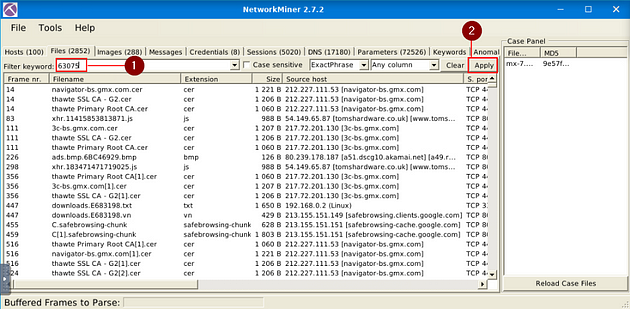
You will have one result, the answer can be found here, under the source host column. But I think that TryhackMe wants you to find it elsewhere, so double-click on the result. This will open a Details window.
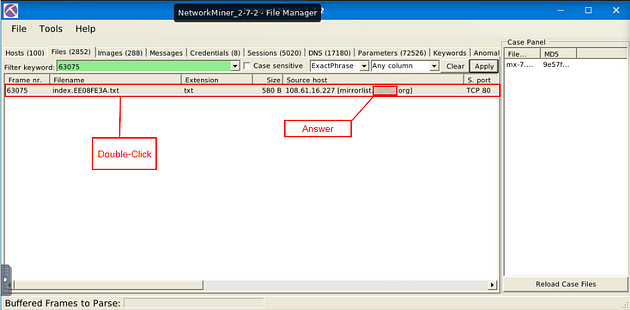
In the File Details window, you will see information in the top half, and the hex value along with what it represents on the bottom half. If you look through the converted hex value, in the bottom half on the right, look for Linux/distributions/. The answer can be found after the backslash. Once you find it, type the answer in the TryHackMe answer field, then click submit.
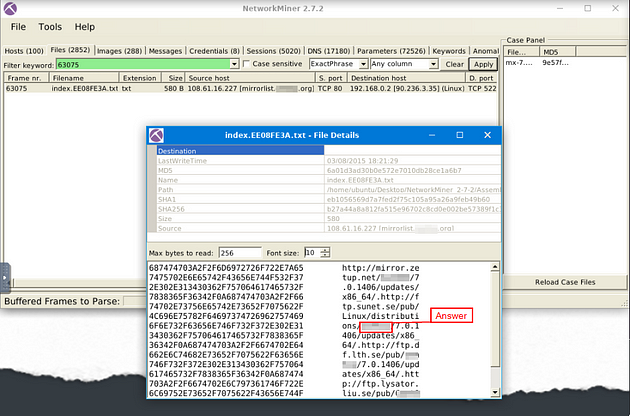
Answer: Centos
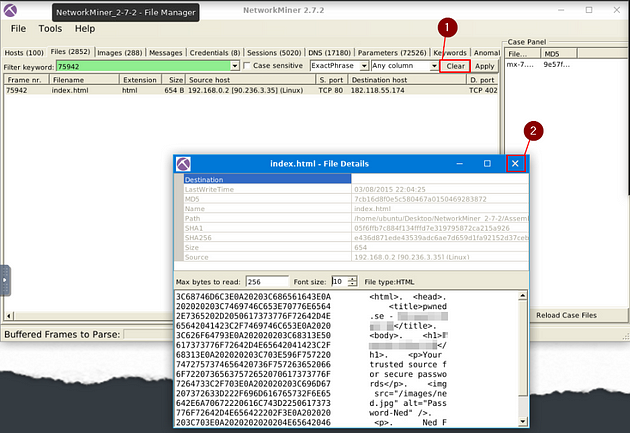
What is the header of the page associated with frame 75942?
Heading back to NetworkMiner, click on the X in the top right corner of the File Details window. Then click the Clear button that is next to the Apply button.

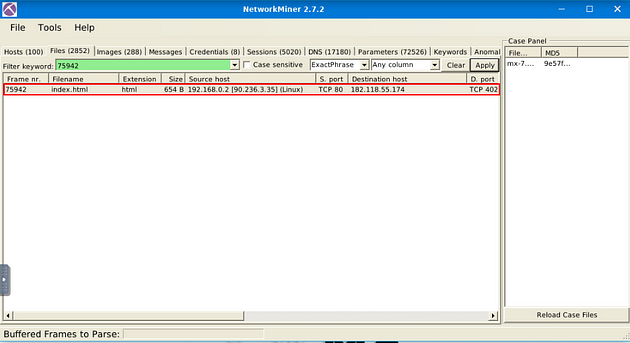
Now type 75942, into the Filter Keyword field. Then click the Apply button.
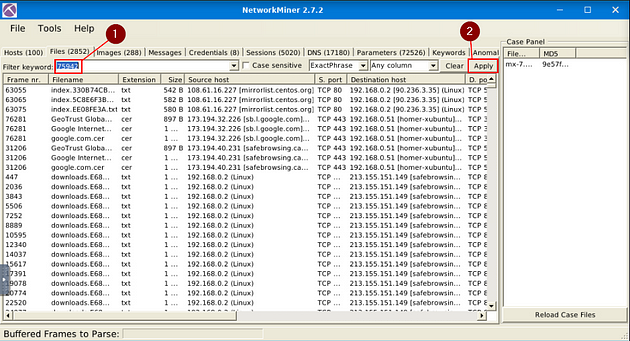
Double-click on the result.
The File Details window will pop-up, look down through the converted hex value. The answer can be found after pwned.se — , or the <h1>. Once you find it, type the answer into the TryHackMe answer field, then click submit.
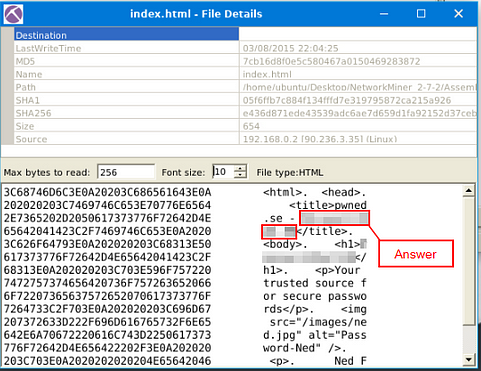
Answer: Password-Ned AB
What is the source address of the image “ads.bmp.2E5F0FD9.bmp”?
Heading back to NetworkMiner, click on the X in the top right corner of the File Details window. Then click the Clear button that is next to the Apply button.
Now type ads.bmp.2E5F0FD9.bmp, into the Filter Keyword field. Then click the Apply button.
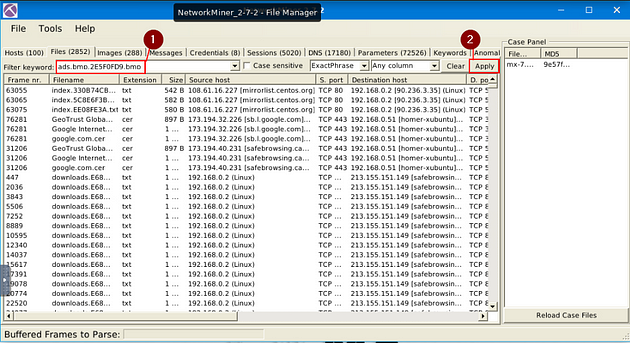
You will only have one result, in this result look for the Source host column. Once you find it, you will see an IP address, this is the answer to the question. Once you find it, type the answer into the TryHackMe answer field, then click submit.
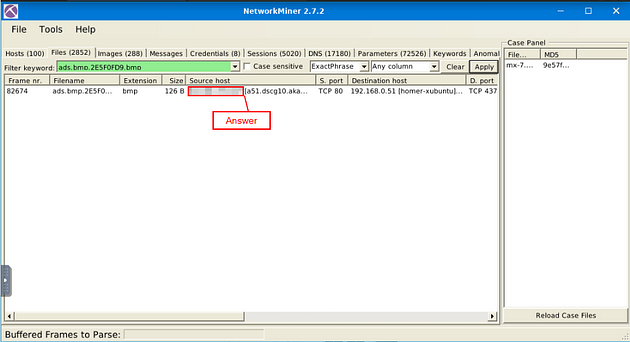
Answer: 80.239.178.187
What is the frame number of the possible TLS anomaly?
Heading back to NetworkMiner, look for the Anomalies tab and click on it.
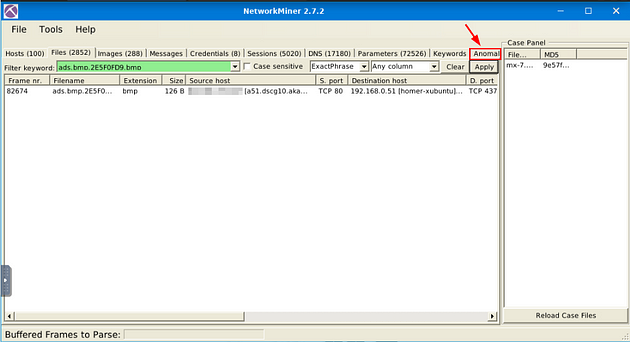
Once on this tab, you will see two possible Anomalies. If you look to the end of each line, you will find the frame numbers. The first result is the frame number you are looking for, for this question. Once you find it, type the answer into the TryHackMe answer field, then click submit.
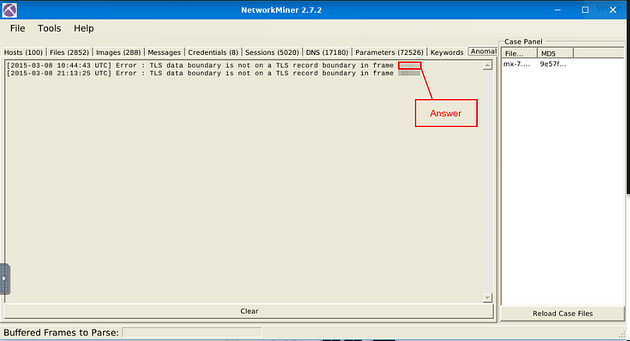
Answer: 36255
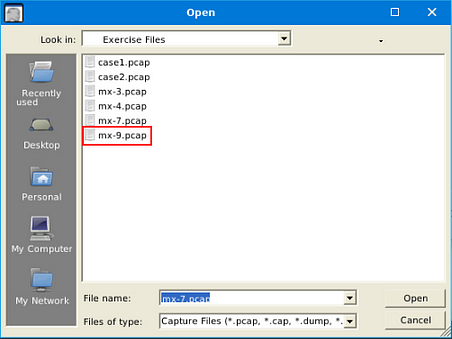
Use mx-9 file
In NetworkMiner, at the top left of the window is the File Tab. Click it, a dropt-down menu will appear, click the Open tab.

A window will pop-up, and you will be in your the directory that you last used, which will be the one we need. Double-Click on mx-9.pcap to open it in NetworkMiner.
After opening the file, you will see it appears in the Case Panel on the right. You are now ready to answer the rest of the questions.
Look at the messages. Which platform sent a password reset email?
When the pcap file is done loading, click on the Message tab.
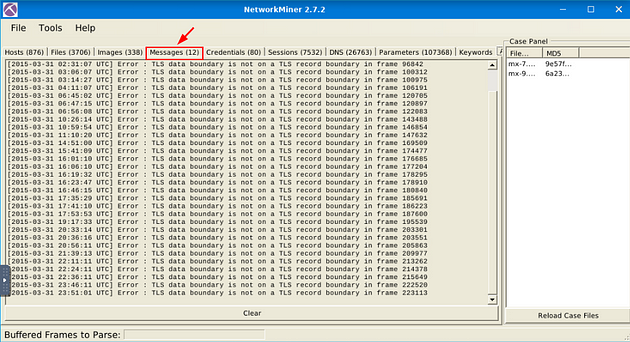
Once on the Messages tab, you will see only one result that says PASSWORD. This gives credit that this is the password reset we are looking for here. Click on the entry, that has PASSWORD in it. Next look to the section with the decoded email in it. You will see the word Open, next to this word is the answer we are looking for. Once you find it, type the answer into the TryHackMe answer field, then click submit.
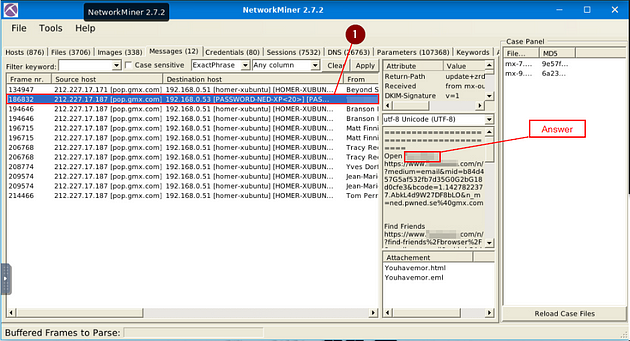
Answer: Facebook
What is the email address of Branson Matheson?
Staying in the Messages Tab, if we go one result down from the previous answer, we can see the first name of the person in question. Scroll right to uncover the From column.
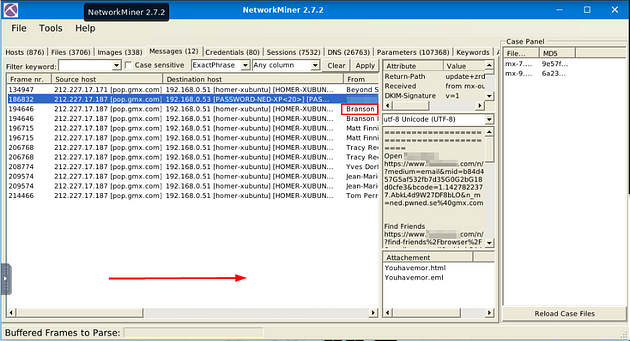
Once you have revealed the From column, you will see Branson’s email address, and the answer to the question. Type the answer into the TryHackMe answer field, then click submit.
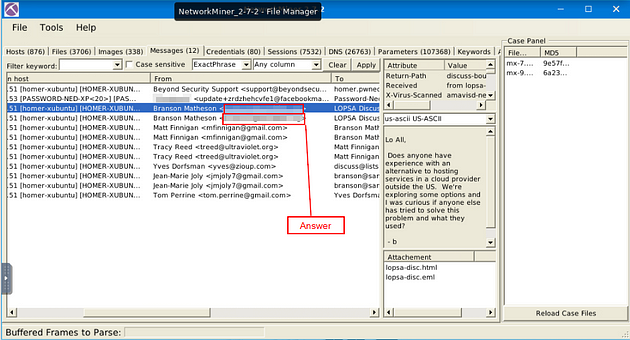
Answer: branson@sandsite.org
Task 6 Version Differences
Version Differences
As always, it wouldn’t be surprising to see a feature improvement as the version goes up. Unsurprisingly version upgrades provide stability, security fixes and features. Here the feature part is quite tricky. Feature upgrades can represent implementing new features and updating the existing feature (optimisation, alteration or operation mode modification). You can always check the changelog here.
Since there are some significant differences between the versions, the given VM has both of the major versions (v1.6 and v2.7).
Of course, as the program version increases, it is expected to increase feature increase and scope. Here are the significant differences between versions 1.6 and 2.7. Here are the differences;
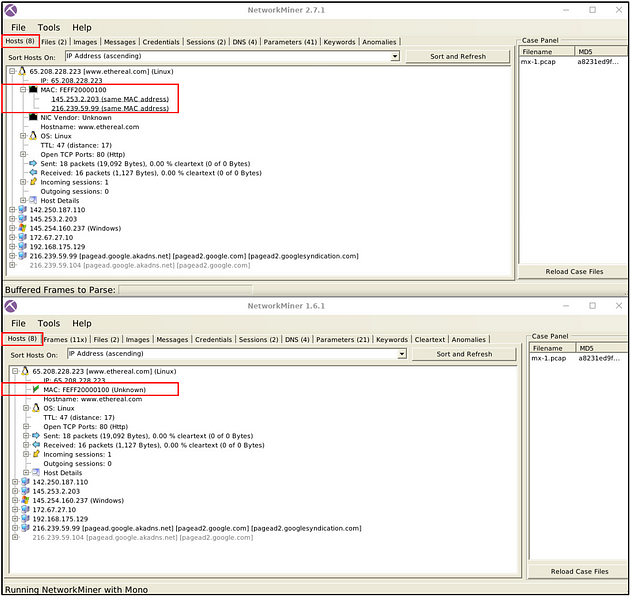
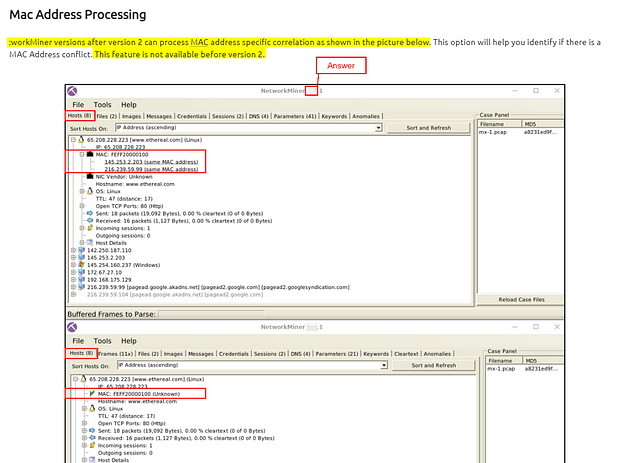
Mac Address Processing
NetworkMiner versions after version 2 can process MAC address specific correlation as shown in the picture below. This option will help you identify if there is a MAC Address conflict. This feature is not available before version 2.
Sent/Received Packet Processing
NetwrokMiner versions up to version 1.6. can handle packets in much detail. These options will help you investigate the sent/received
packets in a more detailed format. This feature is not available after version 1.6.

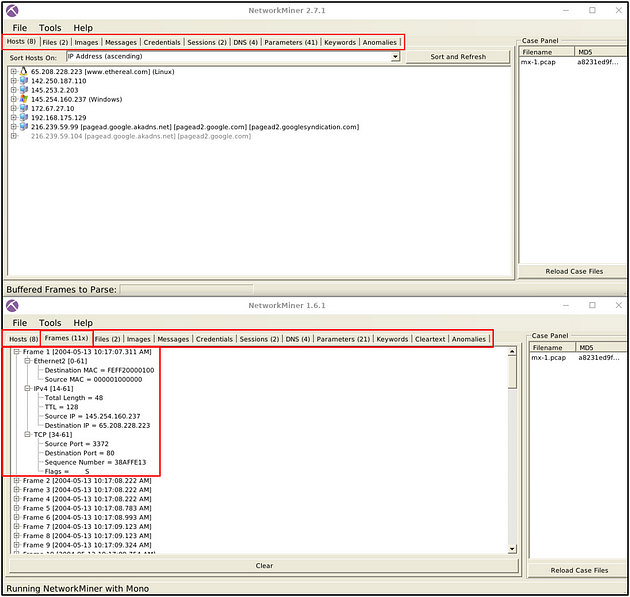
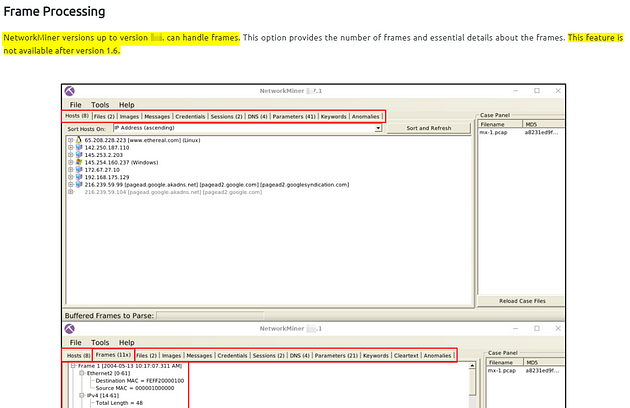
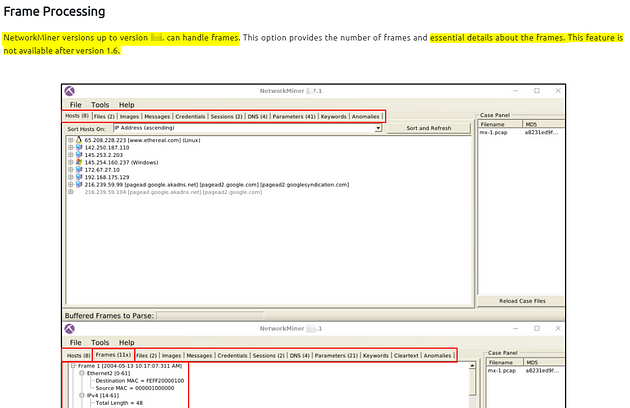
Frame Processing
NetworkMiner versions up to version 1.6. can handle frames. This option provides the number of frames and essential details about the frames. This feature is not available after version 1.6.
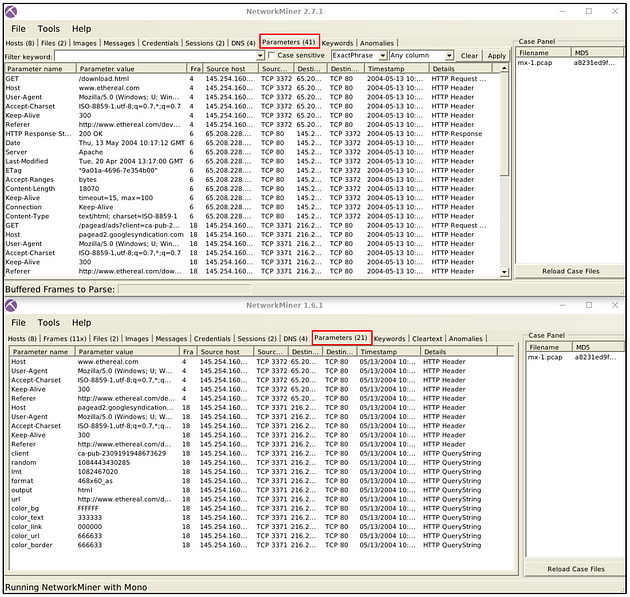
Parameter Processing
NetworkMiner versions after version 2 can handle parameters in a much more extensive form. Therefore version 1.6.xx catches fewer parameters than version 2.
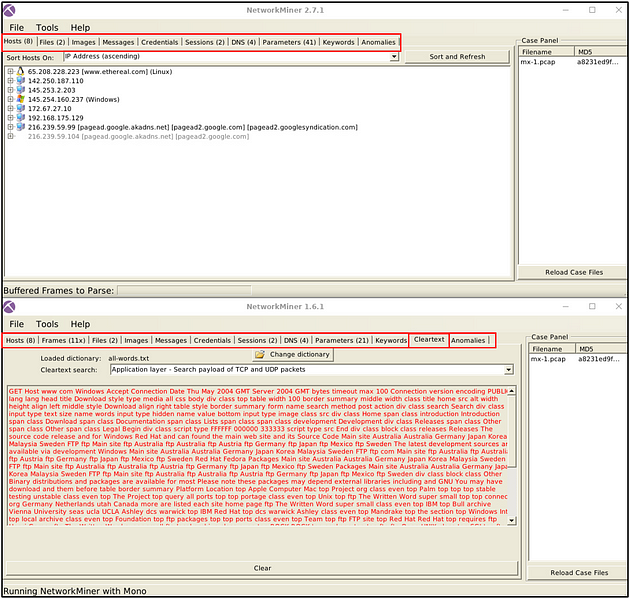
Cleartext Processing
NetworkMiner versions up to version 1.6. can handle cleartext data. This option provides all extracted cleartext data in a single tab; it is beneficial to investigate cleartext data about the traffic data. However, it is impossible to match the cleartext data and packets. This feature is not available after version 1.6.
Answer the questions below
Since the answers can be found above, I won’t be posting the answer below. You can follow along to help you discover where they are.
Which version can detect duplicate MAC addresses?
Scroll up to the Mac Address Processing section, if you read through the small paragraph you discover which version can detect duplicate MAC addresses. Look at the screenshots, the version located at the top of each NetworkMiner instants, is used for the answers. Once you find it, type the answer into the TryHackMe answer field, then click submit.
Which version can handle frames?
Scroll up to the Frame Processing section, if you read through the small paragraph you discover which version can handle frames. Look at the screenshots, the version located at the top of each NetworkMiner instants, is used for the answers. Once you find it, type the answer into the TryHackMe answer field, then click submit.
Which version can provide more details on packet details?
Scroll up to the Frame Processing section, if you read through the small paragraph you discover which version has more packet details. Look at the screenshots, the version located at the top of each NetworkMiner instants, is used for the answers. Once you find it, type the answer into the TryHackMe answer field, then click submit.
You have finished these tasks, and can now move onto Task 7 Exercises & Task 8 Conclusion.