If you haven’t done task 1, 2, & 3 yet, here is the link to my write-up of it: Task 1 Introduction, Task 2 Writing IDS Rules (HTTP), & Task 3 Writing IDS Rules (FTP).
Opening the VM
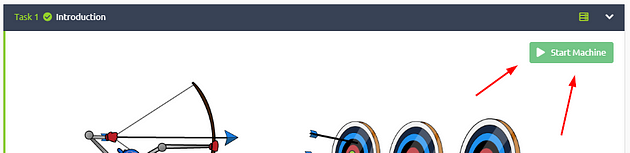
Click the green Start Machine button in the top of Task 1.
The screen will split in half, with the VM on the right and the Tasks on the left. If the screen didn’t split in half go to the next step, if it did split in half skip the next step.
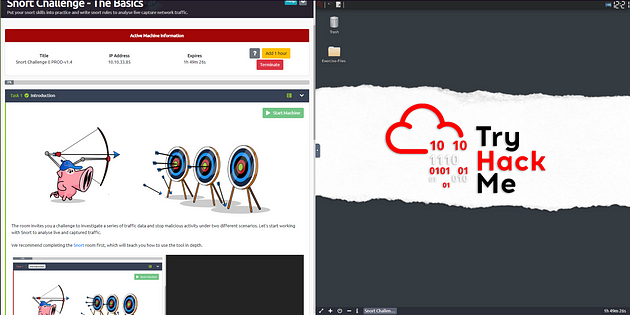
Scroll to the top of the page, you will see a blue bottom labeled Show Split View, click this button to split the page in half.

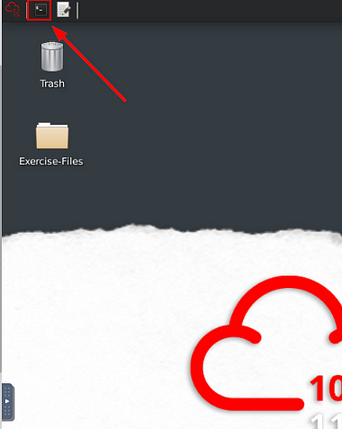
Now that we have our screen split and we have our VM, we need a terminal to work in. At the top left of the VM is a terminal icon, it is hard to see, click this icon to open a terminal window.
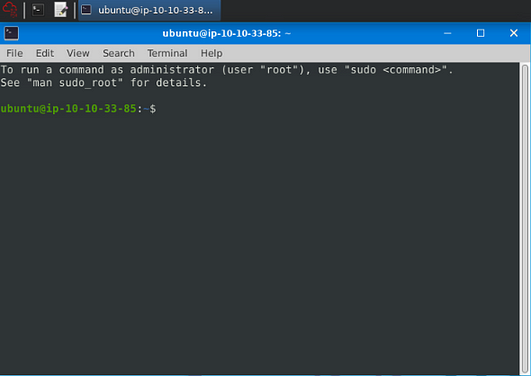
Once you have your terminal window, you are good to go with the tasks ahead.
Task 4 Writing IDS Rules (PNG)
Let’s create IDS Rules for PNG files in the traffic!
Answer the questions below
Navigate to the task folder.
Use command cd Desktop/Exercise-Files/TASK-4\ \(PNG\)/, then press enter to run the command. You are now in the correct directory, using the command ls will list the contents of the directory so we know what the name of the pcap and rules file is.

Use the given pcap file.
Write a rule to detect the PNG file in the given pcap.
Before we write our rule we need to go get a number, to start we need to go to wiki that hold the list of file signatures. Click on the link for the wiki, and once there we are going to use the find (ctrl + f) feature of our browser to find png. When the search bar opens, type png and you will have 4 results.

Go to the second or third result and you will see the PNG magic number we need.

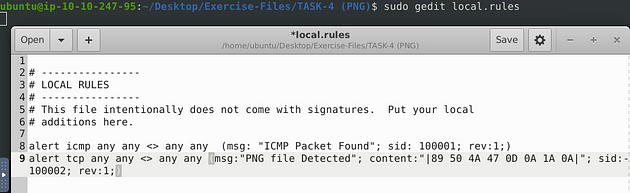
Start by opening the text editor with sudo gedit local.rules, and press enter.
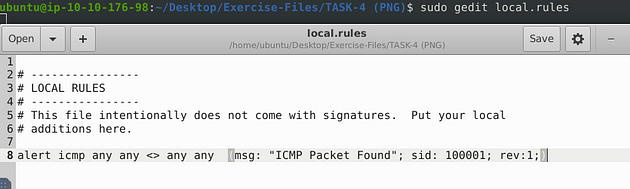
We can see that they already have a rule inside the rule file, so we will leave it alone for the time being. But we will borrow from it, highlight and copy (ctrl + c) the rule on line 8, press enter to start a new line and paste (ctrl + v) the rule on line 9.

Now let’s change some things up on the new rule. First thing to change is the protocol to tcp from icmp. The second thing to change would be the msg:, we want to change it to “PNG file detected”. Then the sid we can increment it one 1. Finally we need to add a content: section, this is where we are going to put that magic number from earlier into. You can copy (ctrl + c) and paste (ctrl + v) or type the hex value in, but the command should look like this, alert tcp any any <> any any (msg:"PNG file Detected"; content:"|89 50 4A 47 0D 0A 1A 0A|"; sid:100002; rev:1;), once we have this typed out we can save it. We use the pipes between to tell snort that this is a binary or a hex value inside here.

Save (ctrl + s) and X out of the text editor window, and your back in the terminal.

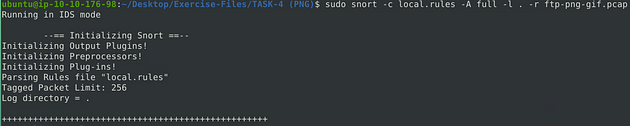
Time to run our rule through, snort against the pcap file. We will set it up as we did in the previous room, the command will be sudo snort -c local.rules -A full -l . -r ftp-png-gif.pcap. We get the name of the pcap file from running the ls command earlier. So after typing the command in, press enter to run it.
After snort is done running, we can use ls again, and see that now we have an alert and log file.

Investigate the logs and identify the software name embedded in the packet.
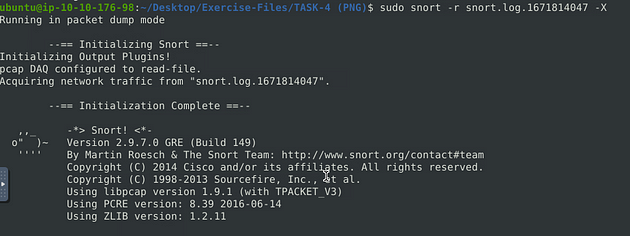
Let’s look at the log file, to do this we can use the snort command we learned in the previous room, sudo snort -r snort.log.1671814047 -X. The name of your log file may be different, that is ok, just make sure it is named properly. Then press enter to run the command.
There is only one result, scroll up till you get almost to the top. Look to the text next to the hex output. A program name should standout, this is the answer. Once you find it, type this answer into the TryHackMe answer field, then click submit.
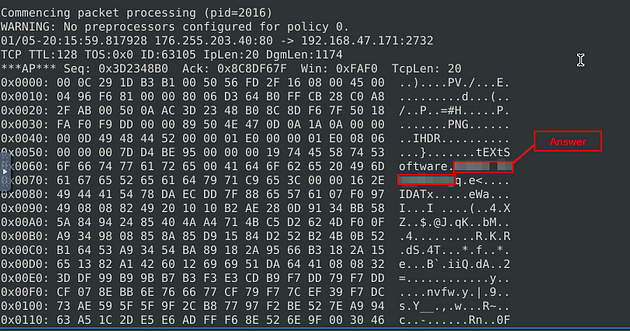
Answer: Adobe ImageReady
Clear the previous log and alarm files.
Let’s remove the log file first, to do this we can use the command sudo rm snort.log.1671814047, then press enter. If it is ready for you to add another command, then you entered it correctly.

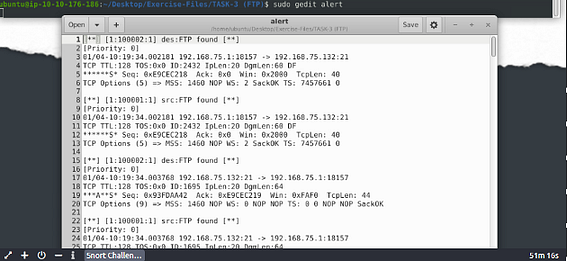
For the alarm file, we can use gedit. The command will be sudo gedit alert, then press enter to open the alert file in gedit.
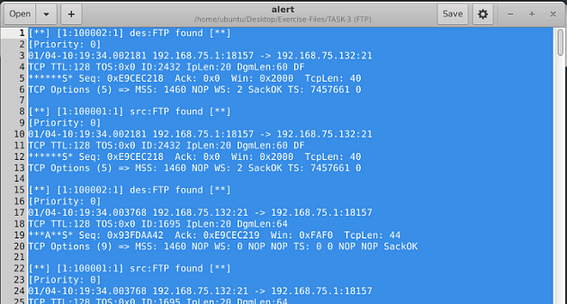
Click anywhere inside the alert file, then use the keyboard shortcut to select all, ctrl + a . The text editor should fill up blue, meaning that all the text is selected.
Press the Deleted button on the keyboard, everything will be gone.
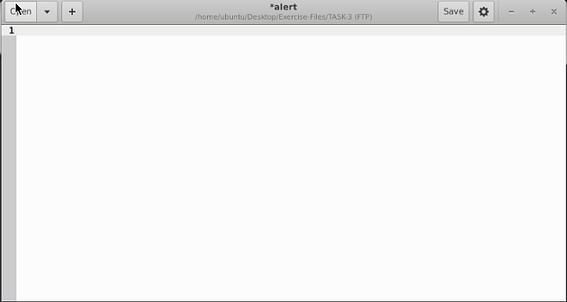
Save (ctrl + s) and X out of the text editor window, and your back in the terminal.

Deactivate/comment on the old rule.
Open the rule file with the command, sudo gedit local.rules.
To Deactivate/comment out the rule, just put a # symbol at the beginning of the line.

Write a rule to detect the GIF file in the given pcap.
Before we write our rule, head back to the List of File Signatures Wiki page. Once there, we are going to use the browser find (ctrl + f) feature. In the search bar type GIF, and you will get 4 result all of which are going to be in the same row.

I will say, after some trail and error, I came up with this being the only code that would yield results. So now we have our number.

Time to write a rule to detect GIF files, to do so it is going to be much like the previous rule. I am going to type out the rule then explain it, alert tcp any any <> any any (msg:"GIF File Detected"; content:"GIF89A"; sid:100003; rev:1;). So before the parentheses we are keeping the same, so we go to msg: to start our changes. In the msg: section we change it to “GIF File Detected”. The content: section we will go back to the wiki, to get the GIF code and place that in here. Then the sid: section with once again be incremented by one, and the rev will be left along.

UPDATE: I had a reader named Naftoli, told me that the there was an issue with the above rule and GIF code. This reader mentioned a website called MIME types (IANA media types), that has a more accurate Hex Signature for GIF files. Looking in the MIME sniffing portion, you will see the section on “Other methods of conveying document type”. Looking at the Magic Number bullet point will show the hex vaule for both GIF (47 49 46 38 39) and PNG (89 50 4E 47). Which could give you a better detection for GIF files. Since it is looking for GIF in hex instead of GIF plus additional characters. The rule for finding GIF using the hex value is
alert tcp any any <> any any (msg:"GIF File Detected"; content:"|47 49 46 38 39|"; sid:100003; rev:1;).
Save (ctrl + s) and X out of the text editor window, and your back in the terminal.
Time to run our rule through, snort against the pcap file. We will set it up as we did in the previous room, the command will be sudo snort -c local.rules -A full -l . -r ftp-png-gif.pcap. We get the name of the pcap file from running the ls command earlier. So after typing the command in, press enter to run it.
After snort is done running, we can use ls again, and see that now we have an alert and log file.

Investigate the logs and identify the image format embedded in the packet.
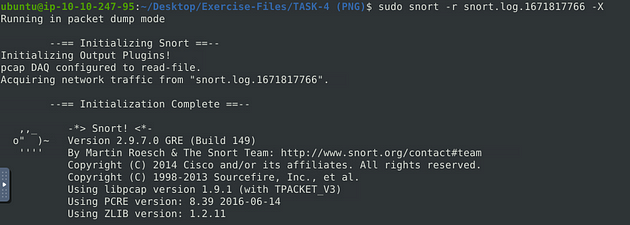
Let’s look at the log file, to do this we can use the snort command we learned in the previous room, sudo snort -r snort.log.1671817766 -X. The name of your log file may be different, that is ok, just make sure it is named properly. Then press enter to run the command.
Scroll up, looking at the text next to the hex output. Something should stand out to be in everyone, that is also something that you put in your rule. Once you figure it out/find it, type this answer into the TryHackMe answer field, then click submit.
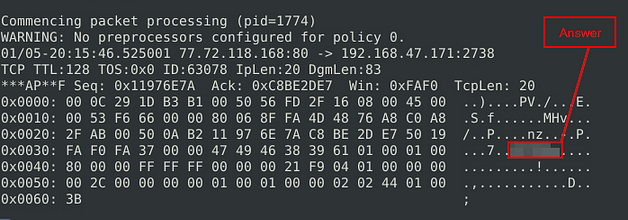
Answer: GIF89A
Task 5 Writing IDS Rules (Torrent Metafile)
Let’s create IDS Rules for torrent metafiles in the traffic!
Answer the questions below
Navigate to the task folder.
Let’s move back and then forward again from the Task 4 directory to the Task 5 directory. To do this use the command cd .., this backs you out of your current directory. The next command is cd TASK-T\ \(TorrentMetafile\)/, this will move you forward into the Task 5 directory. Finish up with, ls to view the contents of the current directory.

Use the given pcap file.
Write a rule to detect the torrent metafile in the given pcap.
Time to write a rule to detect Torrent Metafiles, let’s go simple with this one. First open the text editor with sudo gedit local.rules.

Writing out the command it is alert tcp any any <> any any (msg:"Torrent MetaFile Detected"; content:"torrent"; sid:100001; rev:1;). Let’s break it down, we start it off like we have been alert tcp any any <> any any. Then we get to the msg: section, we make it msg:"Torrent MetaFile Detected". The content: section we want to search for any instance of torrent. Then sid: 10001, and rev:1 as always. Once you have it all typed out, you are ready to save your rule.

Save (ctrl + s) and X out of the text editor window, and your back in the terminal.

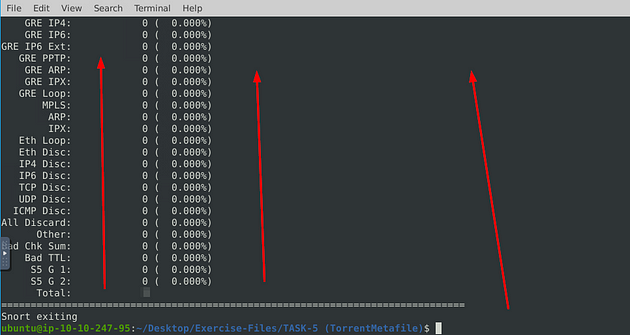
What is the number of detected packets?
Time to run our rule through, snort against the pcap file. We will set it up as we did in the previous room, the command will be sudo snort -c local.rules -A full -l . -r torrent.pcap. We get the name of the pcap file from running the ls command earlier. So after typing the command in, press enter to run it.
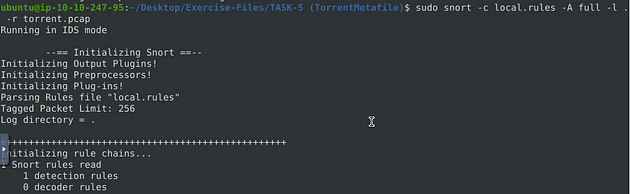
After snort is done running, we can use ls again, and see that now we have an alert and log file.

UPDATE: The same reader, Naftoli, from before also pointed out the I dropped the ball and forgot to include the reading of the snort log file. So I am placeing the write-up portion below this update, sorry I don’t have a screen shot for this. Thank you so much Naftoli!!!
Let’s look at the log file, to do this we can use the snort command we learned in the previous room, sudo snort -r snort.log.1671819514 -X. The name of your log file may be different, that is ok, just make sure it is named properly. Then press enter to run the command.
When snort is done outputting the log file, you will see Total, if you look to the right in the Total row you will see a number. This number is the answer to the question. Type this answer into the TryHackMe answer field, then click submit.
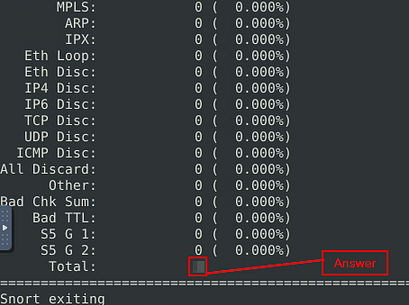
Answer: 2
Investigate the log/alarm files.
Go back to the log where you just got the answer from in the previous question. You will just need to scroll up to the packet section.
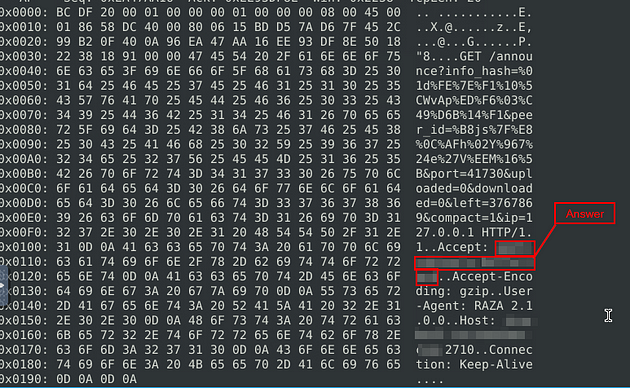
What is the name of the torrent application?
Now that you are up in the Packet section, look in the text next to the hex values, this is where you are going to find the answer. It is in both packets, and can be found just under halfway down through the text. Once you find it, type this answer into the TryHackMe answer field, then click submit.
Answer: bittorrent
Investigate the log/alarm files.
Stay where you are!!!!
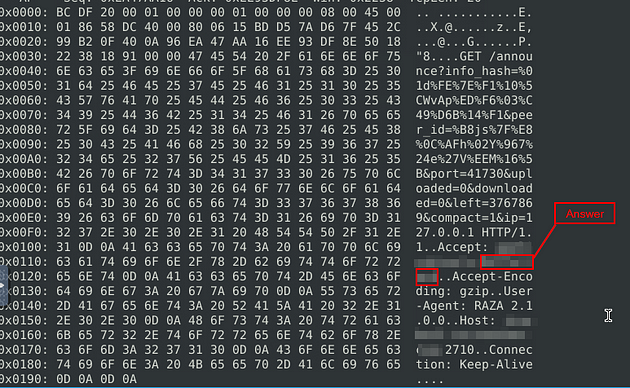
What is the MIME (Multipurpose Internet Mail Extensions) type of the torrent metafile?
This answer is easier to find once you have found the previous answer. It has the previous answer in it, but it starts before the previous answer. Once you find it, type this answer into the TryHackMe answer field, then click submit.
Answer: application/x-bittorrent
Investigate the log/alarm files.
Stay where you are!!!!
What is the hostname of the torrent metafile?
Going back for the last time, look for Host:, the answer can be found right after this. Once you find it, type this answer into the TryHackMe answer field, then click submit.
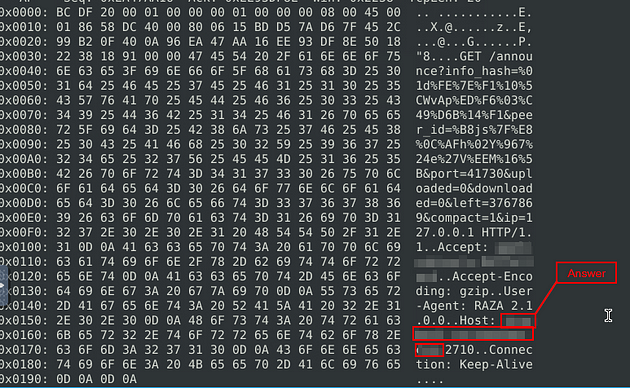
Answer: tracker2.torrentbox.com
You have finished these tasks, and can now move onto Task 6 Troubleshooting Rule Syntax Errors.