If you haven’t done tasks 3 & 4 yet, here is the link to my write-up of them: Task 3 Packet Dissection & Task 4 Packet Navigation
Getting The VM Started
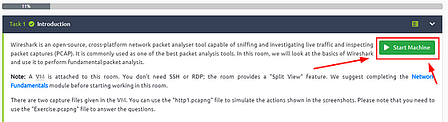
Starting at Task 1, you will see the green Start Machine button. Click this button to get the VM Started.
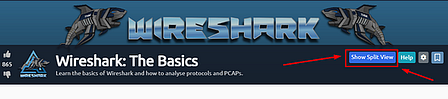
Scroll to the top where the banner is. On the right side of the page, you will see the blue Show Split view. Click this blue button.
The page will split, now just wait till the VM loads.
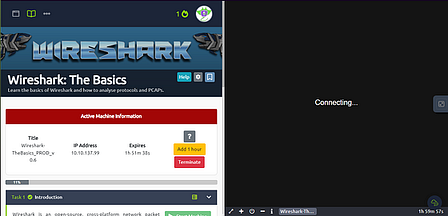
Once the VM loads, click the View in Full Screen icon in the bottom left of the VM.
A new browser tab should open with the VM in it.
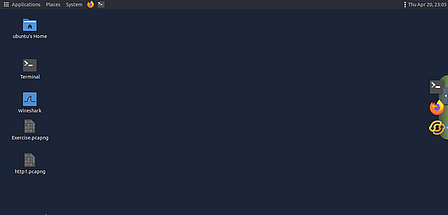
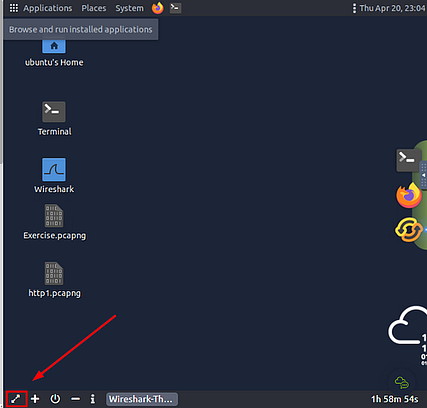
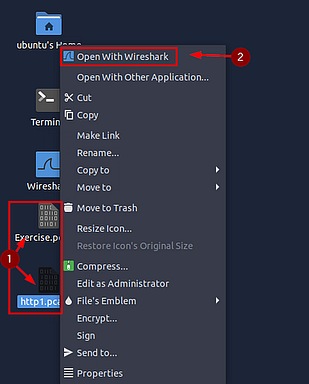
Now depending on what you are doing, if you are following along with the screenshot, use http1.pcapng. If you are answering the questions, use Exercise.pcapng. Whichever you choose, right-click on the file, then on the drop-down menu click the Open With Wireshark.
This will open that file into Wireshark, and you will be ready to go!!
Task 5 Packet Filtering
Packet Filtering
Wireshark has a powerful filter engine that helps analysts to narrow down the traffic and focus on the event of interest. Wireshark has two types of filtering approaches: capture and display filters. Capture filters are used for “capturing” only the packets valid for the used filter. Display filters are used for “viewing” the packets valid for the used filter. We will discuss these filters’ differences and advanced usage in the next room. Now let’s focus on basic usage of the display filters, which will help analysts in the first place.
Filters are specific queries designed for protocols available in Wireshark’s official protocol reference. While the filters are only the option to investigate the event of interest, there are two different ways to filter traffic and remove the noise from the capture file. The first one uses queries, and the second uses the right-click menu. Wireshark provides a powerful GUI, and there is a golden rule for analysts who don’t want to write queries for basic tasks: “If you can click on it, you can filter and copy it”.
Apply as Filter
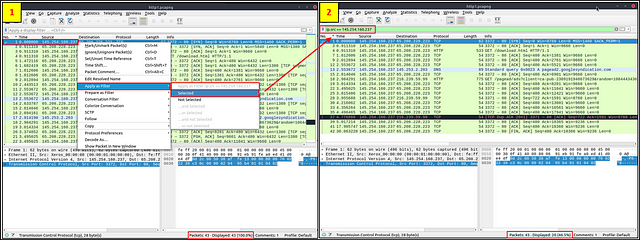
This is the most basic way of filtering traffic. While investigating a capture file, you can click on the field you want to filter and use the “right-click menu” or “Analyse → Apply as Filter” menu to filter the specific value. Once you apply the filter, Wireshark will generate the required filter query, apply it, show the packets according to your choice, and hide the unselected packets from the packet list pane. Note that the number of total and displayed packets are always shown on the status bar.
Conversation filter
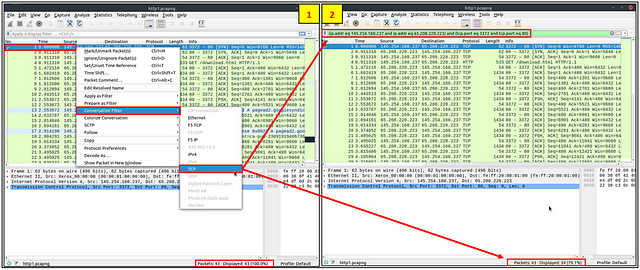
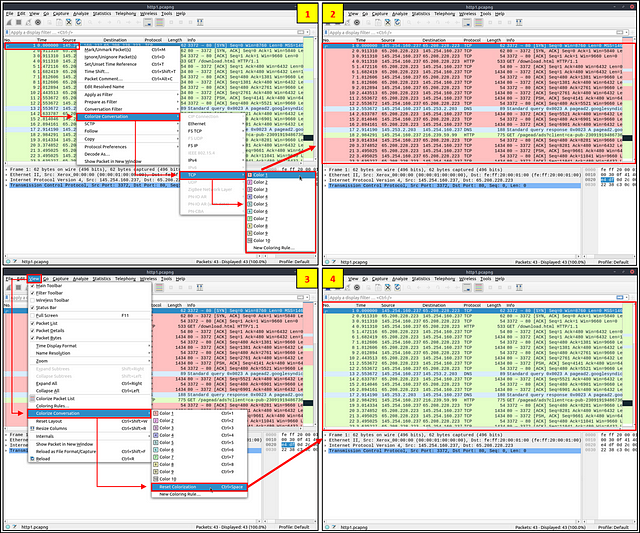
When you use the “Apply as a Filter” option, you will filter only a single entity of the packet. This option is a good way of investigating a particular value in packets. However, suppose you want to investigate a specific packet number and all linked packets by focusing on IP addresses and port numbers. In that case, the “Conversation Filter” option helps you view only the related packets and hide the rest of the packets easily. You can use the”right-click menu” or “Analyse → Conversation Filter” menu to filter conversations.
Colourise Conversation
This option is similar to the “Conversation Filter” with one difference. It highlights the linked packets without applying a display filter and decreasing the number of viewed packets. This option works with the “Colouring Rules” option ad changes the packet colours without considering the previously applied colour rule. You can use the “right-click menu” or “View → Colourise Conversation” menu to colourise a linked packet in a single click. Note that you can use the “View → Colourise Conversation → Reset Colourisation” menu to undo this operation.
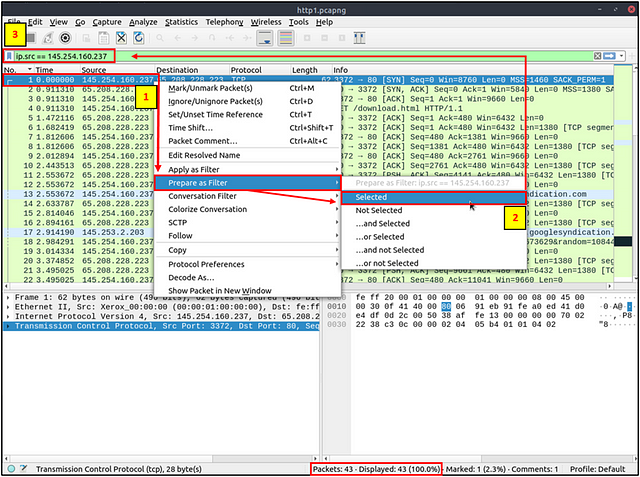
Prepare as Filter
Similar to “Apply as Filter”, this option helps analysts create display filters using the “right-click” menu. However, unlike the previous one, this model doesn’t apply the filters after the choice. It adds the required query to the pane and waits for the execution command (enter) or another chosen filtering option by using the “.. and/or..” from the “right-click menu”.
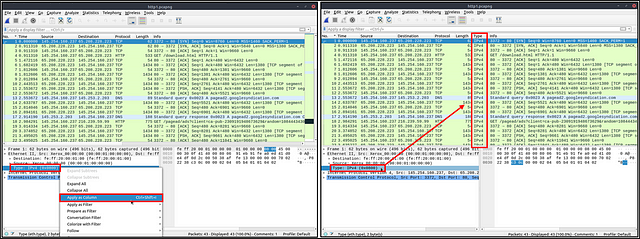
Apply as Column
By default, the packet list pane provides basic information about each packet. You can use the “right-click menu” or “Analyse → Apply as Column” menu to add columns to the packet list pane. Once you click on a value and apply it as a column, it will be visible on the packet list pane. This function helps analysts examine the appearance of a specific value/field across the available packets in the capture file. You can enable/disable the columns shown in the packet list pane by clicking on the top of the packet list pane.
Follow Stream
Wireshark displays everything in packet portion size. However, it is possible to reconstruct the streams and view the raw traffic as it is presented at the application level. Following the protocol, streams help analysts recreate the application-level data and understand the event of interest. It is also possible to view the unencrypted protocol data like usernames, passwords and other transferred data.
You can use the”right-click menu” or “Analyse → Follow TCP/UDP/HTTP Stream” menu to follow traffic streams. Streams are shown in a separate dialogue box; packets originating from the server are highlighted with blue, and those originating from the client are highlighted with red.
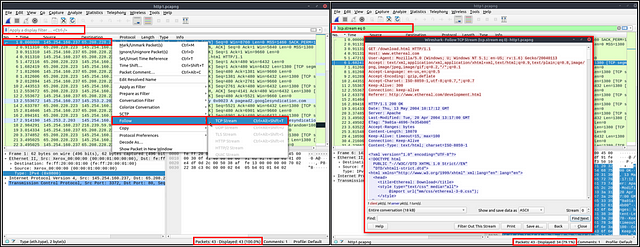
Once you follow a stream, Wireshark automatically creates and applies the required filter to view the specific stream. Remember, once a filter is applied, the number of the viewed packets will change. You will need to use the “X button” located on the right upper side of the display filter bar to remove the display filter and view all available packets in the capture file.
Answer the questions below
Use the “Exercise.pcapng” file to answer the questions.
Go to packet number 4. Right-click on the “Hypertext Transfer Protocol” and apply it as a filter. Now, look at the filter pane. What is the filter query?
Start by clicking on Packet 4 (which should be the fourth packet from the top).
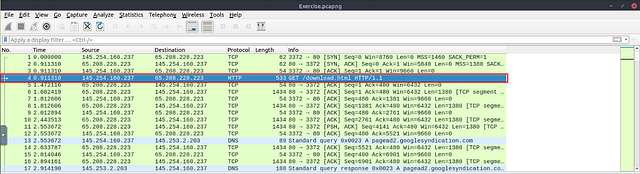
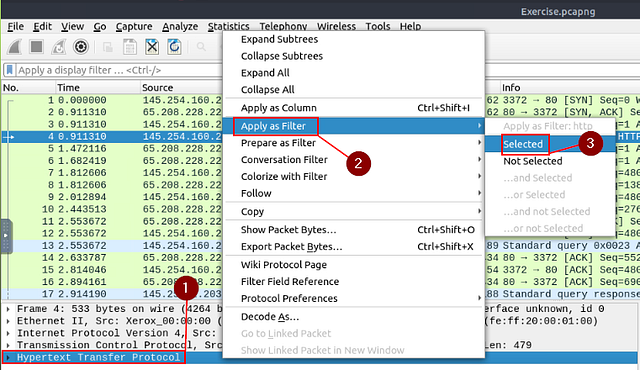
Move down to the Packet Detail section, right-click on Hypertext Transfer Protocol. On the drop-down at appears hover over Apply as Filter. Another drop-down will appear, move the cursor over to this new menu can click on Selected.
After you have clicked Selected, look at the Filter Bar. You will see the Filter that you just applied, and the answer to this question. Type the anser into the THM answer field, and click submit.
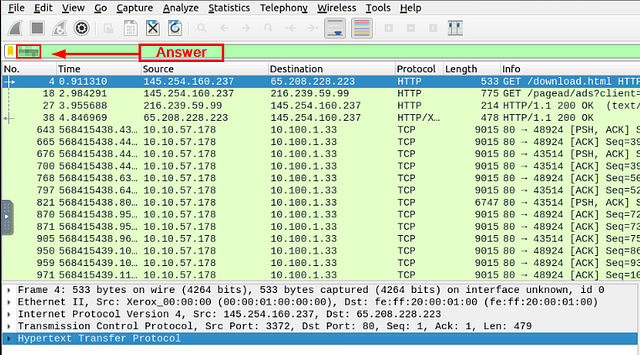
Answer: http
What is the number of displayed packets?
You can easily find this answer in the bottom right of the Wireshark window. Look for Displayed, and the number to the right is the answer. Type the anser into the THM answer field, and click submit.
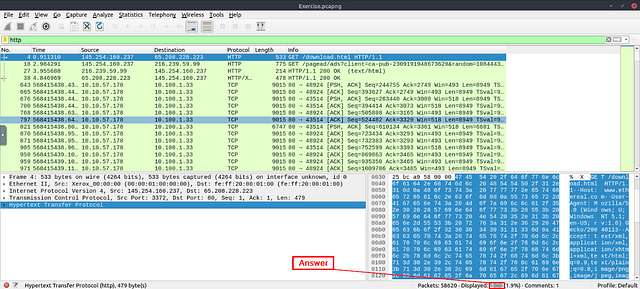
Answer: 1089
Go to packet number 33790 and follow the stream. What is the total number of artists?
As we did before in the previous task, click on the Go tab from the Menu bar at the top of the Window. A drop-down will appear, click Go to Packet…
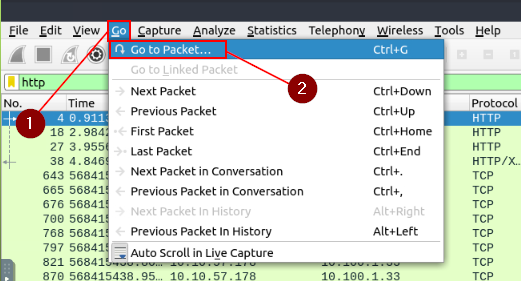
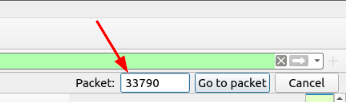
On the right side of the window, the Packet search Bar will appear. Type 33790 into the field, and press enter or click the Got To Packet button.
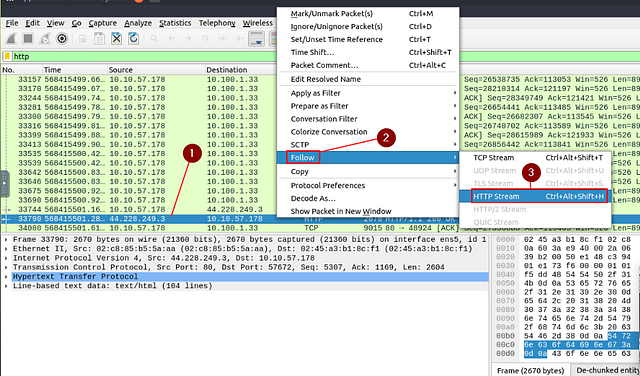
Packet 33790 should now be selected, right-click on this Packet. On the drop-down menu, hover your cursor over Follow. When the new drop-down menu appears, click on HTTP Stream.
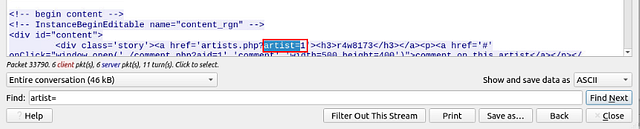
When the Follow HTTP Stream window pops-up, look to the bottom of said window for the Find bar. As we learned from the previous task, the way that page is set up we can search for artist=. So type artist= into the Find bar, then click the Find Next button.
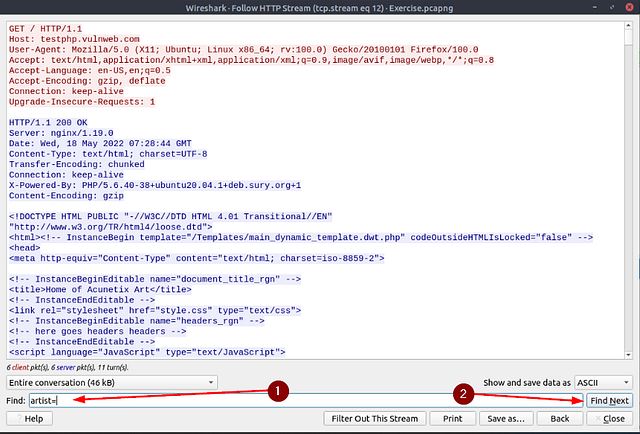
The first hit is for artist=1, so continue to click Find Next until we don’t see this pattern or it starts over.
After repeating the process a couple of time, you should be able to find the answer. Once you find it, type it into the THM answer field, and click submit.
Answer: 3
What is the name of the second artist?
Going back to the Follow HTTP Stream window, look for artist=2. The name to the right of this, after the <h3>, is the answer. Type the anser into the THM answer field, and click submit.
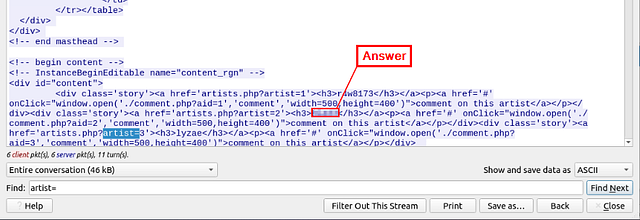
Answer: Blad3
Task 6 Conclusion
Congratulations! You just finished the “Wireshark: The Basics” room. In this room, we covered Wireshark, what it is, how it operates, and how to use it to investigate traffic captures.
Want to learn more? We invite you to complete the Wireshark: Packet Operations room to improve your Wireshark skills by investigating packets in-depth.
🎉🎉🎉Congrats!!! You completed the TryHackMe Wireshark Basics Room, Awesome Job!!!🎉🎉🎉